Table of Contents
When you want to track how much metal is being lost to corrosion over time, ultrasonic thickness gauging (UTG) offers one of the most reliable and non-invasive approaches available in NDT. By comparing thickness readings over periods, you can detect thinning, pitting, or localized attack before leaks or failures occur. (If you’re new to ultrasonic testing more broadly, start with our [Ultrasonic Testing Basics] link.)
In this article, you’ll see how UTG works, how to set baselines and calibrate, how to ensure repeatability, interpreting and trending data, and real-world applications that bring these methods to life. Also, we tie it back to insights from [UT in Oil & Gas Applications].
How It Works
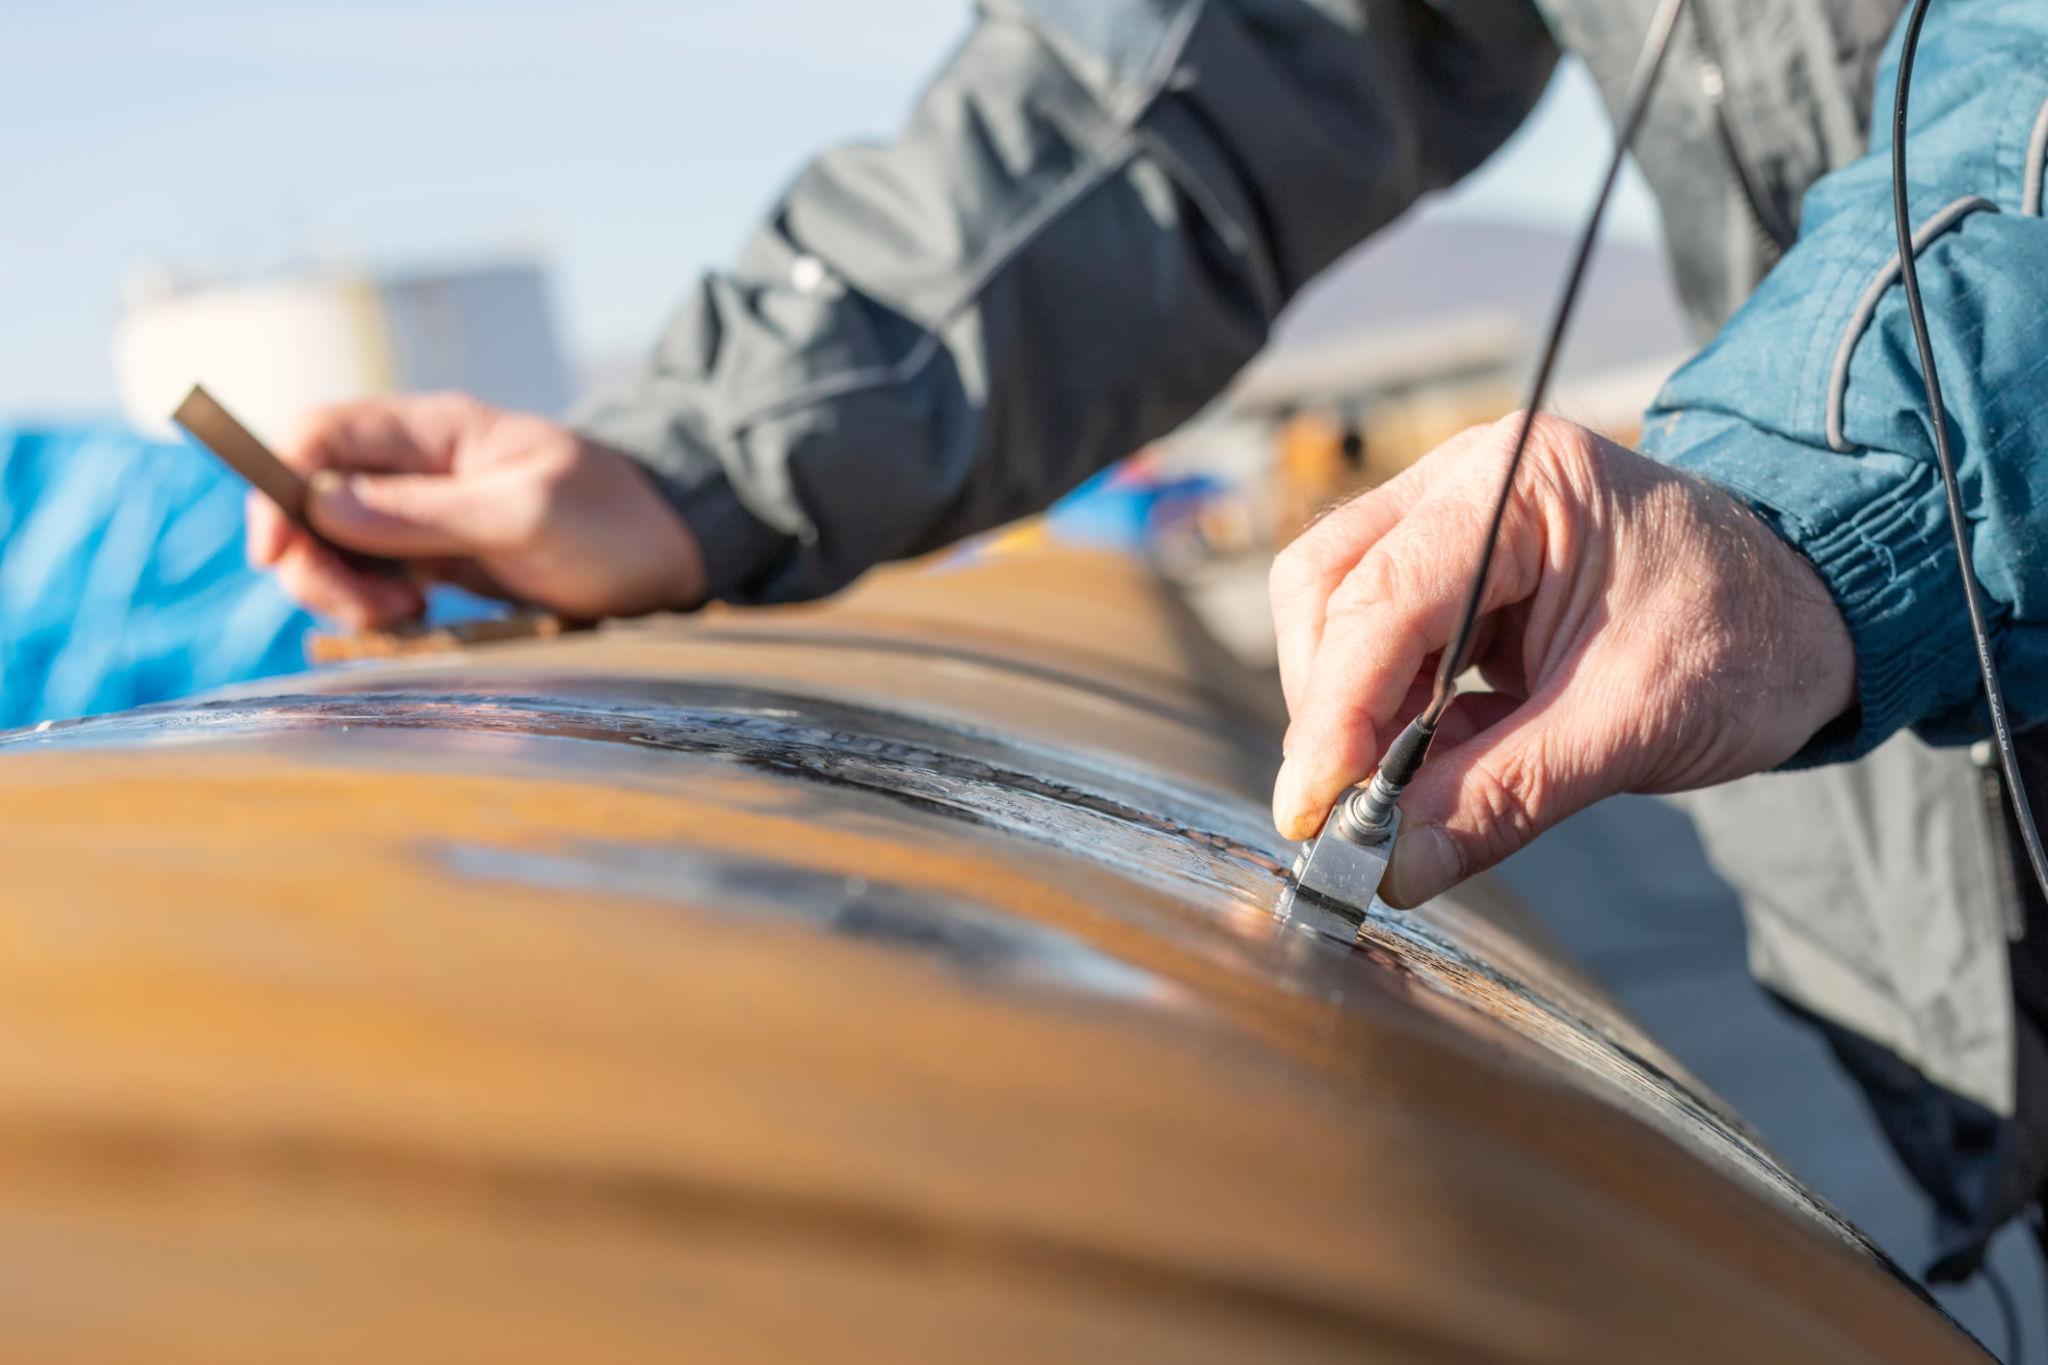
Ultrasonic thickness gauging relies on measuring the time-of-flight of a sound pulse through the material. A transducer sends a pulse; it travels through the metal, reflects at the back wall, and returns to the probe. By knowing the sound velocity in the material, you can compute thickness:
Thickness = (Velocity × Time) ÷ 2
Key pieces:
- Sound velocity (celerity): Must be known or calibrated for the specific material and temperature
- Echo detection / signal clarity: The back-wall echo must be clear and distinguishable
- Coupling and surface contact: Good coupling (gel, oil, or delay lines) is necessary for the sound to transmit without loss
In corrosion monitoring, you repeat this measurement at the same precise location over time, so that deviations in thickness reflect real material loss instead of measurement error.
State-of-the-art research shows that using permanent transducers and careful calibration, repeatability in laboratory settings can reach ~40 nanometers on a 10 mm steel sample over one day. That level of precision allows detection of corrosion rates of 0.1 mm/year to 0.2 mm/year within an hour or two.
Setting Up Baseline Measurements
You cannot monitor corrosion meaningfully without a baseline reference. Here’s how to set it up robustly:
- Select measurement points (CMLs / TMLs) Choose corrosion monitoring locations (CMLs) or thickness monitoring locations (TMLs) in likely corrosion zones—under supports, near connections, bends, or flow anomalies.
- Take multiple readings per point Take at least three measurements per location to establish consistency and spot outliers.
- Record environmental conditions Include temperature, surface state, coupling medium, probe model, operator, and time.
- Calibrate equipment with reference standards Use traceable calibration blocks to set your velocity and zero offsets.
- Document metadata Log the details as part of your inspection record to compare in future iterations.
This baseline is your “zero point” against which all future thickness changes are judged.
Industry practice (e.g. via NACE / AMPP standards) complements UT monitoring with corrosion coupons, inspection metrics, and interpretation algorithms.
Repeatability & Calibration
One of the biggest challenges in thickness monitoring is ensuring repeatability—you want your measurements over time to reflect true corrosion, not noise or operator error.
- Use consistent probe positioning and alignment at each session
- Maintain the same coupling method, pressure, and orientation
- Re-calibrate sound velocity particularly if the temperature or material changes
- Use zero-offset / reference checks against calibration blocks
- Apply statistical methods like averaging, outlier rejection, or filtering
In many advanced systems, permanently installed sensors or continuous monitors reduce human error by always measuring from the same spot. These sensors often outperform snapshot manual methods in data consistency and long-term trend detection.
One study showed that on a 10 mm steel sample, refined UT technique yielded repeatability down to ~40 nm over a day—enough to reliably detect corrosion rates of ~0.1 mm/year within a couple of hours.
Another factor: temperature compensation. Sound velocity in steel can change with temperature. Some references recommend a –0.5% correction per 100 °F (≈55 °C) for thickness measurements.
Interpretation & Trending
Once you’ve collected thickness data over time, interpreting it properly is where insight emerges.
- Plot thickness vs time for each point to see trends
- Use linear regression or slope analysis to derive a corrosion rate (e.g., mm/year)
- Create color-coded maps or heatmaps when you have multiple CMLs to visualize thinning zones
- Watch for anomalous jumps—large sudden losses may indicate new defect formation, measurement error, or pitting
- Compare against the baseline thickness to compute percent loss or remaining wall
Be cautious: natural measurement noise, echo quality changes, and environmental variation can create fluctuations. You must distinguish signal (actual thinning) from noise.
In field practice, systems often filter or exclude data anomalies and calibrate trend thresholds. Some papers caution that rough or corroded surfaces degrade echo fidelity over time.
For regulatory context, pipeline corrosion monitoring ties into integrity management standards. For example, some U.S. pipeline regulations require surveys, cathodic protection checks, and corrosion assessment programs.
Real-World Examples
Example 1: Refinery Piping Network
A refinery deployed UT thickness gauges across piping circuits in areas known for corrosion (e.g. near acid units). Measurements every month revealed a steady thinning rate of ~0.04 mm/year in certain segments. Because the trend was small but steady, operations planned a maintenance window to replace the thin sections before failure.
Example 2: Storage Tank Shell
In a large aboveground storage tank, UT thickness gauging was performed at fixed grid points during internal inspections. Over successive intervals, maps showed accelerated thinning near supports and joints. Repairs were localized to the highest-risk zones, saving substantial downtime and cost.
Example 3: Permanent Sensor Installation
One industrial plant installed permanently mounted UT sensors at critical corrosion zones. These sensors continuously collected thickness data over months. The data allowed the corrosion team to detect subtle changes, adjust inhibitor dosing, and schedule targeted maintenance — improving efficiency and avoiding surprise failures.
FAQ
What is the probe setup for thickness gauging?
Typically, a 0° longitudinal (straight-beam) probe is used for thickness gauging. For corroded or uneven surfaces, a delay-line probe or dual-element probe may help isolate the measurement from surface irregularities.
How do you handle coatings or surface layers?
Options include removing the coating locally, using a delay line to offset the coating, or calibrating a compensation offset for the coating thickness.
What’s the standard calibration method?
Use certified calibration blocks and verify thickness measurements. Set velocity and zero-offset, and check back-wall echoes. Recalibrate if environmental or material conditions shift.


