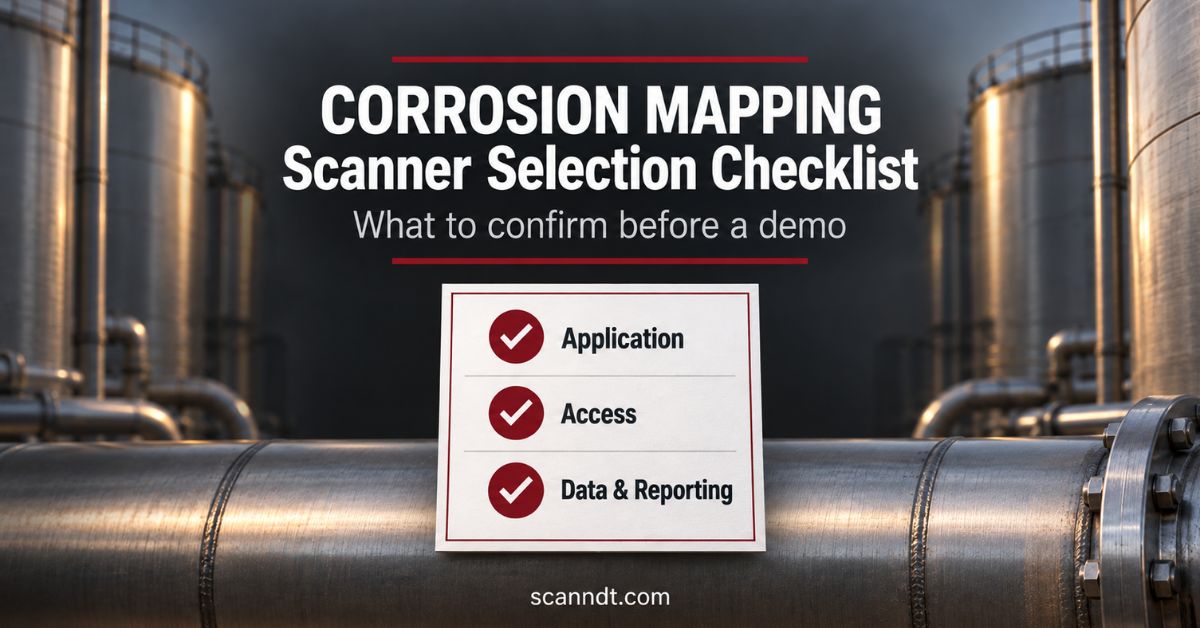
Choosing the right NDT scanner isn’t just about comparing specifications.
The scanner has to work for the actual inspection.
Pipe diameter, surface geometry, inspection method, access, probe contact, data requirements and setup time can all affect which system makes sense in the field.
A scanner built for high-resolution corrosion mapping may not be the best choice for weld inspection. A system that works well on a large vessel may not be practical for small-diameter pipe. And the fastest scanner on a specification sheet doesn’t necessarily create the fastest inspection workflow.
Before choosing an NDT scanner, start with the application.
1. Start With What You Need to Inspect
The first question should be simple:
What does the scanner need to inspect?
Common applications include:
- Pipe
- Pipelines
- Storage tanks
- Pressure vessels
- Welds
- Flat plate
- Steam drums
- Other curved or irregular surfaces
Geometry matters because the scanner needs to maintain its position and perform reliably across the inspection surface.
Pipe diameter can be especially important. As diameter decreases, the scanner has to accommodate a tighter radius while maintaining proper wheel and probe positioning.
If you’re evaluating equipment for pipe applications, start by looking at the requirements of the inspection rather than choosing a scanner first.
Explore Pipe Inspection Solutions
2. Determine the Type of Inspection
Once you know the surface, determine what you need the scanner to accomplish.
For ultrasonic testing, that could include:
- Corrosion mapping
- Encoded B-scan inspection
- C-scan data collection
- Weld inspection
- Thickness mapping
- Specialized UT applications
These applications have different requirements.
For example, corrosion mapping requires systematic coverage of an area so thickness measurements can be tied to position and displayed as a C-scan. Weld inspection requires a scanner configuration designed around the weld and the probes being used.
The scanner is more than a way to move a probe. It becomes part of the data collection process.
Learn How Ultrasonic Corrosion Mapping Works
3. Look at Scan Speed and Resolution Together
Speed matters, especially when you’re inspecting large areas or working against a turnaround schedule.
But maximum scanner speed doesn’t tell the whole story.
The better question is:
What resolution can the system maintain at the speed you actually want to scan?
If you have to significantly reduce scanning speed to collect the data density required for the inspection, a high maximum-speed specification doesn’t necessarily translate into higher productivity.
Resolution and speed should be evaluated together.
For corrosion mapping applications, this becomes particularly important because you’re collecting thickness measurements across an entire area rather than at a few individual locations.
A productive system should help you cover the inspection area efficiently while still collecting the data needed to evaluate the asset.
Explore Automated Corrosion Mapping Scanners
4. Don’t Overlook Setup Time
Scanning is only one part of an inspection.
Think about everything that happens before the scanner starts moving.
Technicians may need to:
- Install and position the scanner
- Adjust wheel angles
- Position probes
- Set probe pressure
- Route couplant
- Connect controls
- Align the system
- Change configurations
- Move the equipment to the next inspection area
A scanner can be fast once it’s running and still create a slow overall workflow if setup is complicated.
This is why features such as modular components, tool-less adjustments and simplified configurations can have a real impact in the field.
Saving a few minutes during one setup may not sound significant. Saving those minutes repeatedly over dozens or hundreds of scan locations is different.
When comparing NDT scanners, evaluate total inspection workflow, not just scanning speed.
5. Pay Attention to Probe Contact
For ultrasonic inspection, reliable probe contact is critical.
Real inspection surfaces aren’t always perfect.
Curvature, surface conditions and changing geometry can affect how the probe sits against the inspection surface as the scanner moves.
The scanner’s mechanical design plays an important role here.
Look at how the system manages:
- Probe pressure
- Probe angle
- Surface changes
- Couplant delivery
- Probe stability
- Positioning
Springs, gimbals, probe holders and surface-following mechanisms aren’t just mechanical features. They can directly affect how consistently the probe interacts with the surface.
This is also something that’s difficult to evaluate from a brochure.
Seeing the scanner operate on a representative surface can tell you much more.
6. Decide How Much Automation You Actually Need
More automation isn’t automatically better for every inspection.
Some jobs benefit from a simple manual encoded scanner. Others require automated movement and repeatable scan patterns.
A manual scanner may make sense when portability, technician control and quick deployment are priorities.
An automated scanner may make more sense when the inspection requires:
- Large coverage areas
- Repeatable scan patterns
- Consistent movement
- Higher production rates
- Raster scanning
- Remote scanner control
There are also modular systems that can be configured for different inspection requirements.
The goal shouldn’t be to purchase the most automated scanner available.
The goal is to choose the right level of automation for the work you’re actually performing.
Compare ScanTech Ultrasonic Scanners
7. Consider the Data After the Scan
The inspection doesn’t end when the scanner stops moving.
The data still has to be reviewed, interpreted, documented and turned into something useful.
Before choosing a scanning system, consider what happens after acquisition.
Ask:
- How is positional data recorded?
- How will the UT data be displayed?
- Can the results be reviewed visually?
- What reporting tools are available?
- How easily can the data be documented?
- Can the workflow support the reporting requirements of the inspection?
Scanner hardware and inspection software should work together as a complete system.
ScanTech’s software lineup includes Analyst X™ for B-scan applications, Analyst XR™ for C-scan applications and Analyst NDX™ for rotational scanning applications.
Explore NDT Inspection Software
8. Think About Where the Scanner Will Be Used
A scanner that looks great in a controlled demonstration still has to work at the jobsite.
Consider the actual environment.
How far does the technician need to carry the equipment?
How often will it be repositioned?
Is access limited?
Will the scanner be used vertically or horizontally?
What are the power requirements?
How much equipment has to be transported with the system?
How quickly does the crew need to move from one scan location to another?
Weight, portability, durability, cable management and ease of setup can become just as important as the specifications on the product sheet.
The best NDT scanner isn’t necessarily the system with the longest feature list.
It’s the one that reliably performs the inspection your technicians need to complete.
9. Compare the Scanner Using Your Real Application
A product demonstration is most useful when it represents the work you actually do.
Instead of asking only to see a scanner move across a standard demonstration piece, provide information about your application.
That could include:
- Material
- Pipe or vessel diameter
- Surface geometry
- Inspection method
- Probe configuration
- Required scan area
- Desired resolution
- UT equipment
- Typical field conditions
- Current challenges
This gives the manufacturer a much better understanding of what you’re trying to accomplish.
It also gives you a better way to evaluate whether the scanner fits your workflow.
Don’t Choose an NDT Scanner From a Specification Sheet Alone
Specifications are useful for narrowing down your options.
They don’t show you everything.
A live demonstration lets you see how the scanner sets up, how it moves, how the probes interact with the surface and how the overall system works.
More importantly, it gives you an opportunity to ask questions based on your actual application.
If you’re comparing NDT scanning equipment, don’t just ask:
“How fast is it?”
Ask:
“How well will it perform the inspection we need to complete?”
That’s the question that matters.
See How a ScanTech Scanner Handles Your Application
You don’t need to know which scanner you need before contacting us.
Tell us what you’re inspecting and what you’re trying to accomplish.
Our team can review the application and help determine which ScanTech scanner or configuration makes the most sense for the job.
Bring Us Your Inspection Challenge
Have a specific pipe diameter, geometry, inspection method or scanning requirement Let’s look at it.
See the equipment operate, ask technical questions and evaluate the system around your inspection requirements. Not ready for a demo yet?