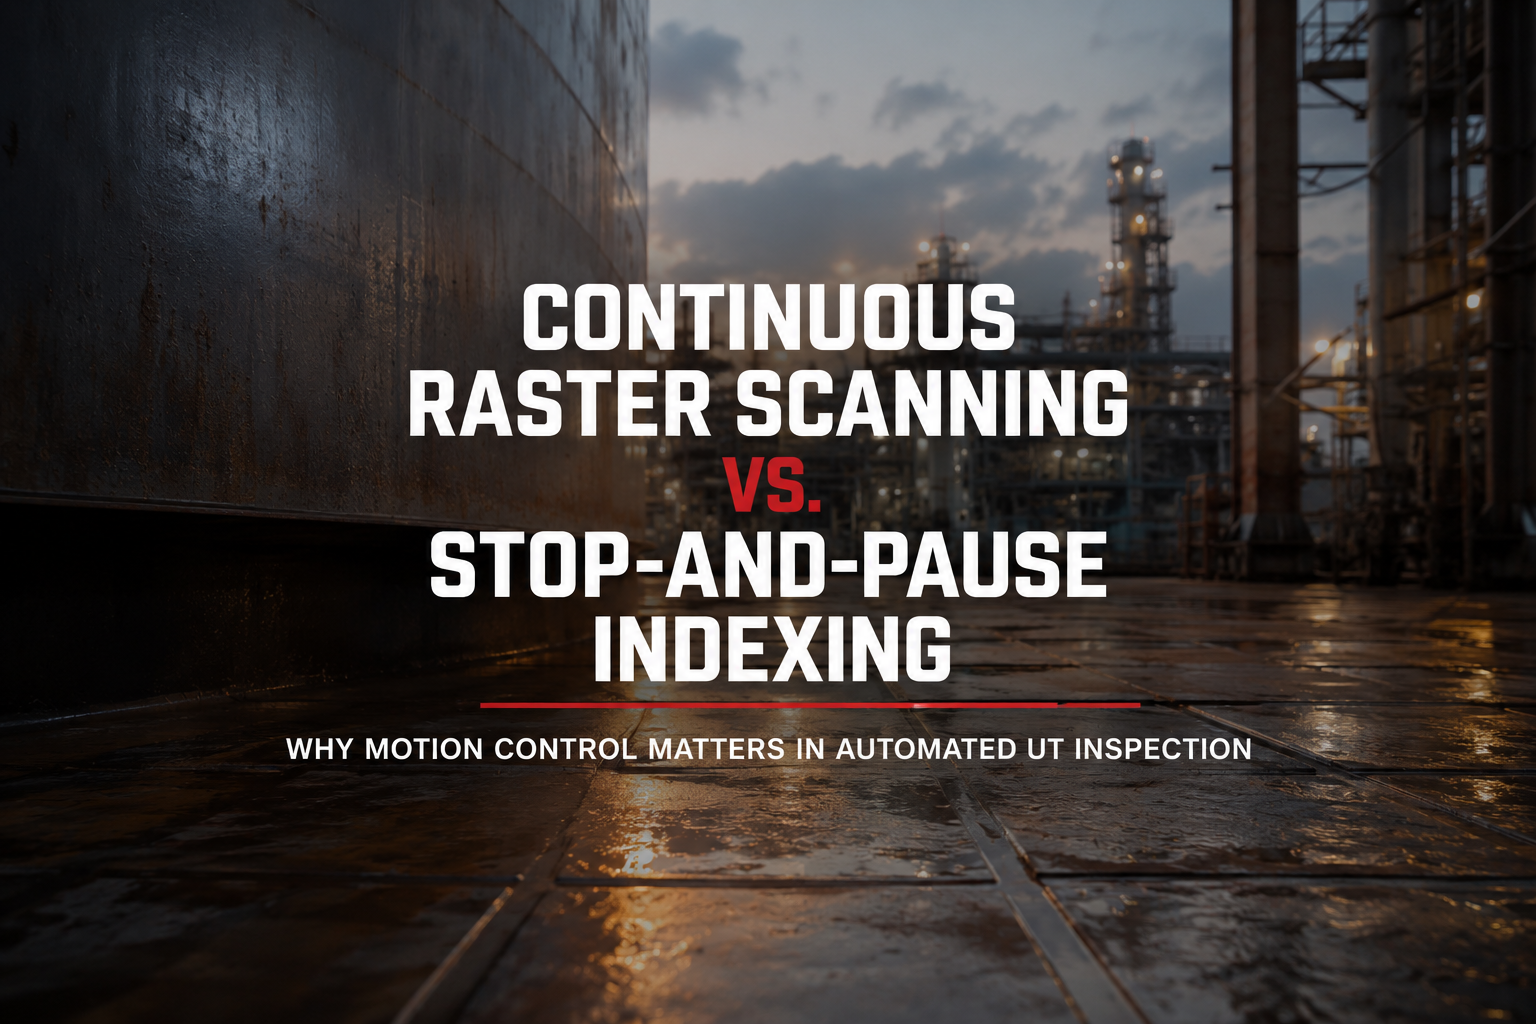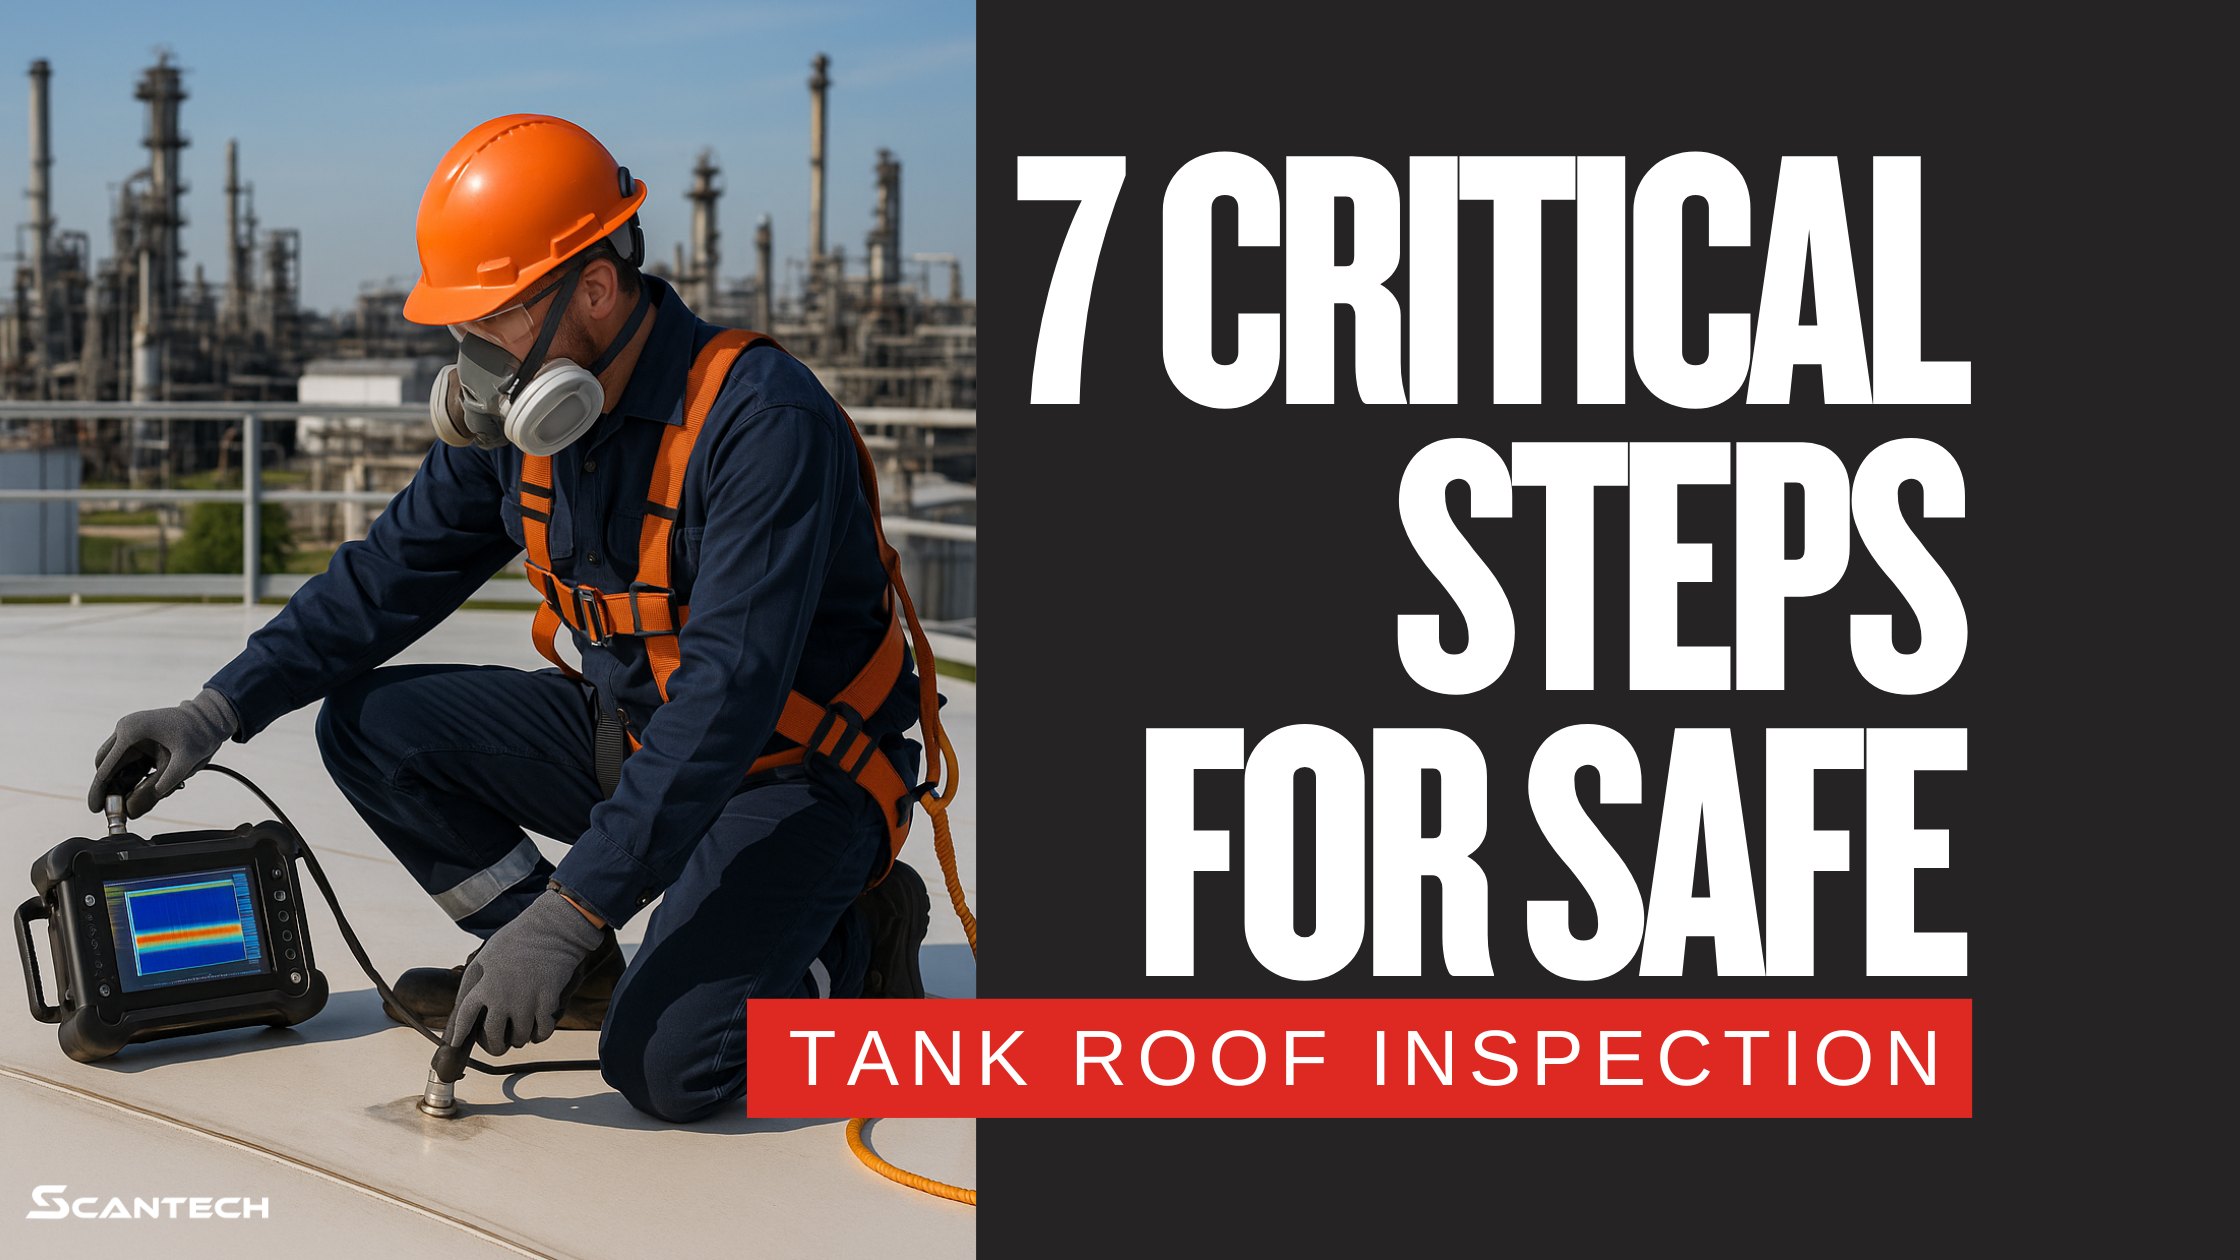
A compromised tank roof can result in serious injury, operational delays, and costly shutdowns. That’s why scanning the roof safely is the first priority in any tank roof inspection as part of a broader tank inspection program. This guide outlines seven essential steps – from planning to reporting – to ensure both personnel safety and high-quality data capture during a tank roof inspection.
Step 1: Pre-Scan Site Assessment
A thorough site review sets the foundation for a safe scan.
Visual Inspection and Documentation
Walk around the tank and note any signs of damage, including corrosion pits, deformed panels, or visible repairs. Photograph these areas with GPS-tagged timestamps and add notes to your inspection journal.
Access and Egress Check
Confirm all ladders, stairs, and scaffolding are rated for industrial use. Verify that railings and fixed ladders meet OSHA requirements. Sketch a simple access map to identify routes and emergency exits.
Hazard Identification
Log any slippery areas, overhead obstructions, or zones requiring electrical or hot-work precautions. Work with the site safety team to install signage and restrict access to high-risk areas.
Step 2: Structural Integrity Verification
Confirm the roof can support all personnel and equipment safely.
Engineering Review: Know Your Load Limits
Check design specs to determine the roof’s load capacity. Calculate the combined weight of your gear and compare it against that limit. If it’s close, postpone scanning and consider alternate inspection methods.
In-Service vs Out-of-Service Conditions
Find out whether the tank is full or empty. In-service tanks may need flotation support and tethered fall protection systems.
How to Spot-Test for Roof Weakness
Tap test select areas with a non-destructive hammer and monitor deflection with a gauge. If the roof flexes more than 2 mm, it may be unsafe to scan that zone.

Step 3: PPE and Fall Protection
Personal safety depends on proper gear and fall prevention.
Essential PPE
Inspect your gear before use. Wear a chin-strap hard hat, polarized safety glasses, non-slip boots, gloves, and a high-visibility vest.
Fall Arrest Equipment
Use a full-body harness with a shock-absorbing lanyard. Anchor it to a beam or portable davit arm rated for at least 5 kN. Check stitching, clips, and the D-ring for damage before using.
Extra Safety Measures
Use guardrails or safety lines when working near the roof edge. Train your team in fall rescue procedures.
Step 4: Equipment Setup and Calibration
Correct setup ensures reliable ultrasonic data.
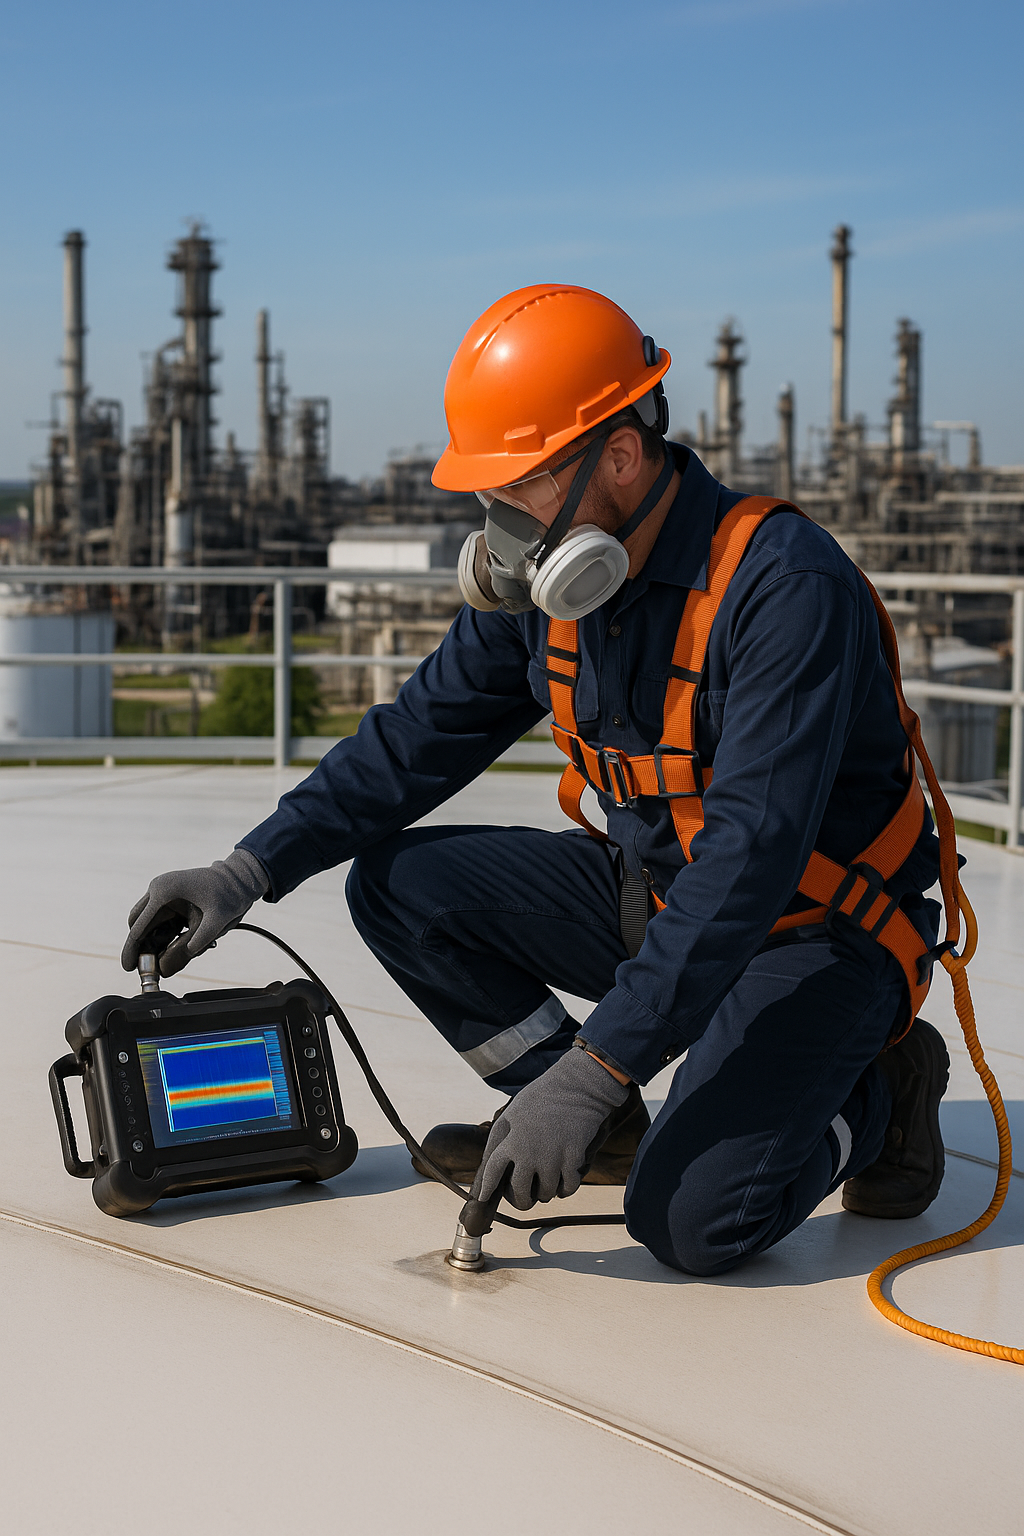
Inspect the Scanner Hardware First
Check wheel assemblies, probe faces, cables, and couplant lines for wear or leaks. Clean all surfaces before use.
Gauge Calibration Using Reference Blocks
Calibrate the gauge using certified thickness standards. Adjust velocity settings and confirm zero offsets. Record results in the logbook.
Configure Software Settings Before You Scan
Open Analyst X B-Scan and load the correct scan template. Set scan speed, resolution, and channel settings. Run a short trial to confirm signal quality.
Step 5: Environmental and Weather Checks
Conditions on-site can affect both safety and data quality.
Weather Monitoring
Measure wind speed with an anemometer and check for incoming storms. Avoid scanning in gusty or rainy conditions.
Surface Temperature and Stability
Allow the tank roof to reach a steady temperature before scanning. Record both ambient and surface temps for accurate velocity compensation.
Lighting
Use LED lights or headlamps to eliminate shadows. Mark scan paths clearly with reflective tape or chalk.
Step 6: Scanning Procedure and Monitoring
Live supervision and defined paths help ensure reliable scans.
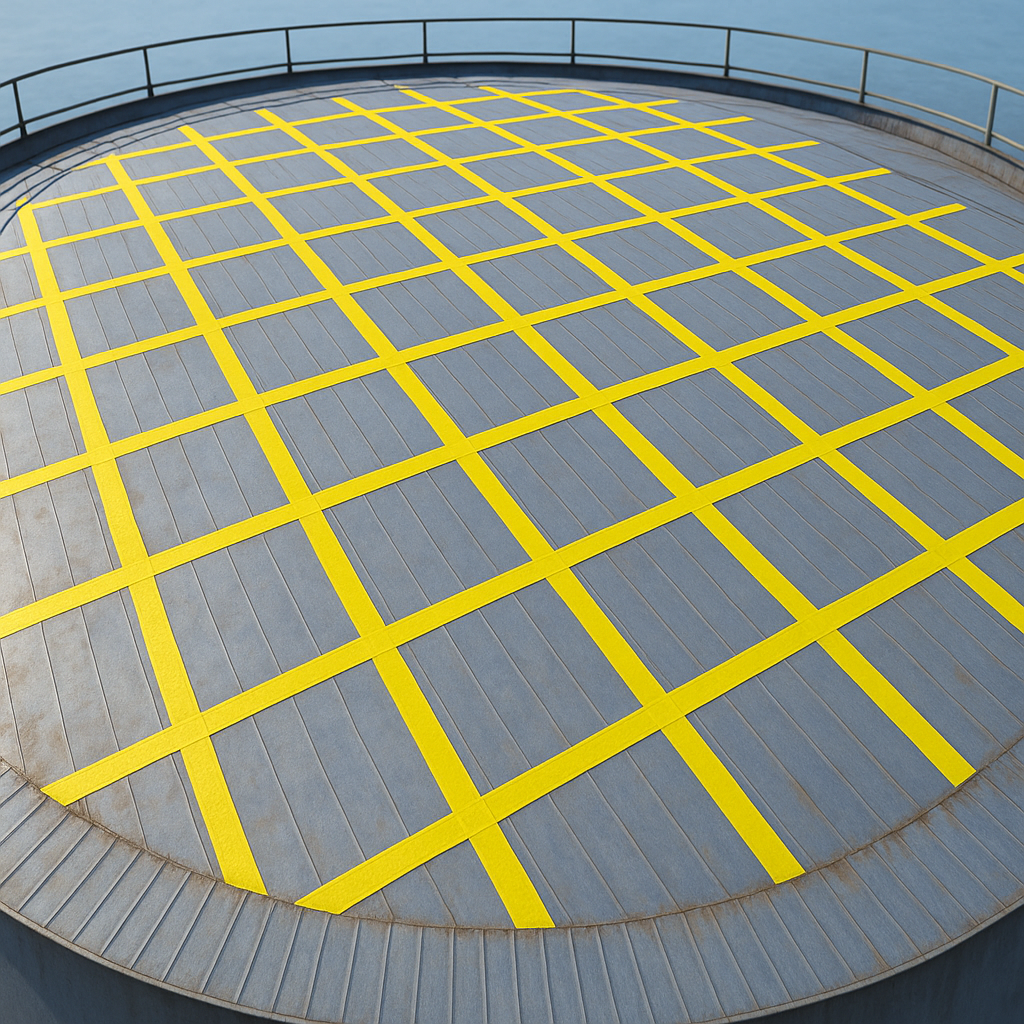
Plan the Scan Grid
Mark the scan pattern on the roof using tape or chalk. Label each row or path clearly and maintain 10 percent overlap.
Monitor in Real Time
Assign a team member to watch the live feed for data dropouts or poor signal. Use radios to coordinate adjustments with the operator.
Pause and Fix Problems
If the data shows errors or anomalies, stop and troubleshoot. Check probe contact, couplant flow, and traction. Resume scanning after corrections are confirmed.
Step 7: Reporting and Follow-Up
A proper wrap-up improves both accuracy and future inspections.

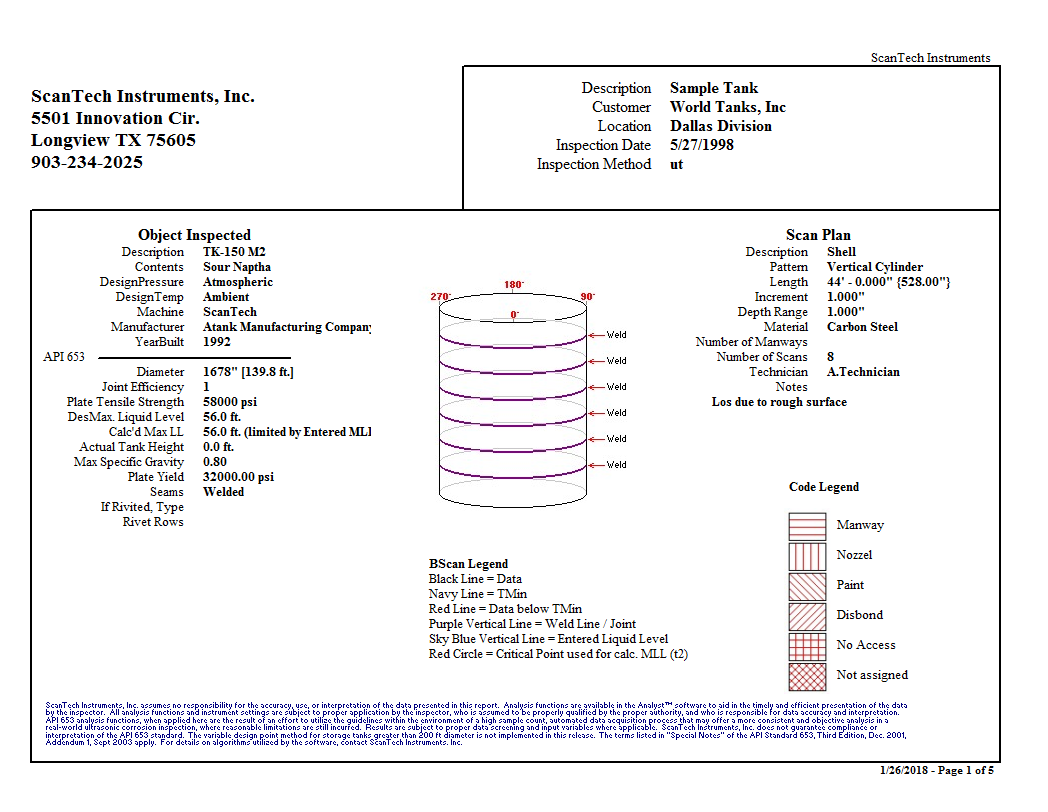
Export and Analyze the Data
Export B-scan results to PDF and CSV. Generate a heat map that shows wall thinning and highlight areas below threshold thickness.
Report Findings with API 653 Format
Create a report that includes summary findings, thickness tables, images, and recommendations. ScanTech’s software includes a built-in API 653 reporting tool that generates this report in under a minute.
Team Safety Debrief
Hold a debrief to review what went well and what could be improved. Update SOPs and assign follow-up tasks.
Each step of a tank roof inspection matters. From hazard planning and fall protection to live monitoring and fast reporting, safety and accuracy go hand-in-hand. All of ScanTech’s tank scans use B-scan technology for consistent thickness data. Our Analyst X software provides immediate API 653-compliant reporting to keep your inspections efficient and standardized.
Ready to plan your next safe tank roof inspection? Contact ScanTech to speak with our team today.